Sunday, November 2, 2014

Shabby Blue Christmas Card

Hello everyone,

I created a shabby blue Christmas Card:


I used several layers of one color, and patterned cardstock, all with distressed edges and painted with distress white paint to create this card.


Some of the cardstock layers were attached with adhesive foam to give it extra dimension.


I created the sentiment on my PC, printed it on heavy white cardstock and cut it in shape of banner.


I used blue seambinding ribbon to create this shabby quadruple bow. I distressed it with white distress paint and added a glittery snowflake on top.

I am entering this card into following challenges:

Cardabilities Challenge Sketch #110

City Crafter Challenge Blog Week #235 "Stripes"

Crafty Catz Challenge #253 Anything Goes
and

Crafty Creations Challenge #275 Brads, Buttons or Bows, I chose a bow. :)

I hope you enjoyed this post.
Have a great day and thanks for stopping by...
Samra

Tall & Skinny Christmas Card

Hello everyone,

I made a rustic style Christmas card in dark red and gold tones using Spellbinders Fleur de Lis squares and Cricut cutouts from Christmas Cheer and Sophisticated cartridges:


All the patterned card stock layers have distressed edges and I used decorative sisal for the first time as part of my embellishments. I added strings of sisal underneath the Fleur de Lis diecuts as well in the quadruple shabby bow.


I embossed the stockings with Darice Damask embossing folder, heat embossed them with rustic gold embossing powder and added string on mini rustic gold pearls.


The shabby bow was made with seam binding ribbon and decorated with small poinsettia flower that was also heat embossed with rustic gold embossing powder. As you can see there are sisal strings running through it.


Side look reveals all the layers and dimension....

I am entering this card into following challenges:

Crafty Cardmakers and More Challenge #126 "Cut it Out"
Divas by Design Anything goes
Simply Create Too Challenge #73 Shop in your craftroom
and Mojo Monday #369 based on following sketch:


I hope you enjoyed this post.
Have a great day and thanks for stopping by...
Samra

Monday, October 27, 2014

A Shabby Chic Halloween Card

Hello everyone,

I have been quite busy lately and haven't had a chance to make any cards. I made sure this morning to set aside a few hours to make a card and enter it into some fabulous challenges. :)

Here is my card:


I made this card based on the sketch from Artisant Blog however the theme came from The Shabby Tea Room Spooky Wishes Challenge


The shabby black bow was made with seam binding ribbon, distressed with white distress paint, tied with some raffia and embellished with a fancy harlequin button. The sentiment was created on my PC and printed on heavy white card stock distressed with black and vintage photo distress ink and then cut into shape of a banner.


I used several Halloween Tickets from Digital Papers by Janet and created multiple layers with them. Some of them I embellished with liquid pears.


Instead of traditional banner I created this spiderweb banner to complement the theme...


One more look at the card...

I am entering this card into following challenges:
Artisant Challenge #2
The Shabby Tea Room Challenge Week #238 Spooky Wishes
Shopping our Stash #174 Halloween
and
Dream Valley Challenges #93 Halloween

I hope you enjoyed this post...
Have a fabulous day and thanks for stopping by!
Samra

Friday, October 17, 2014

Vintage Travel Book Card

Hello everyone,

I ventured into very new to me crafting waters with this card:


I decided to create a card that would capture recent road trip adventure my husband and I took....We were actually driving on this historic Route 66 on our way to Texas :)
Route 66 sign is a Cricut Nifty Fifties Cartridge cutout covered with clear crackle paint and then distressed with Vintage Photo Distress Ink.
I used 3 different size heavy cardstock pieces and covered both sides of each with different patterned cardstock. Majority of cardstock I used for this project is from Tim Holtz "Lost and Found" Stash.
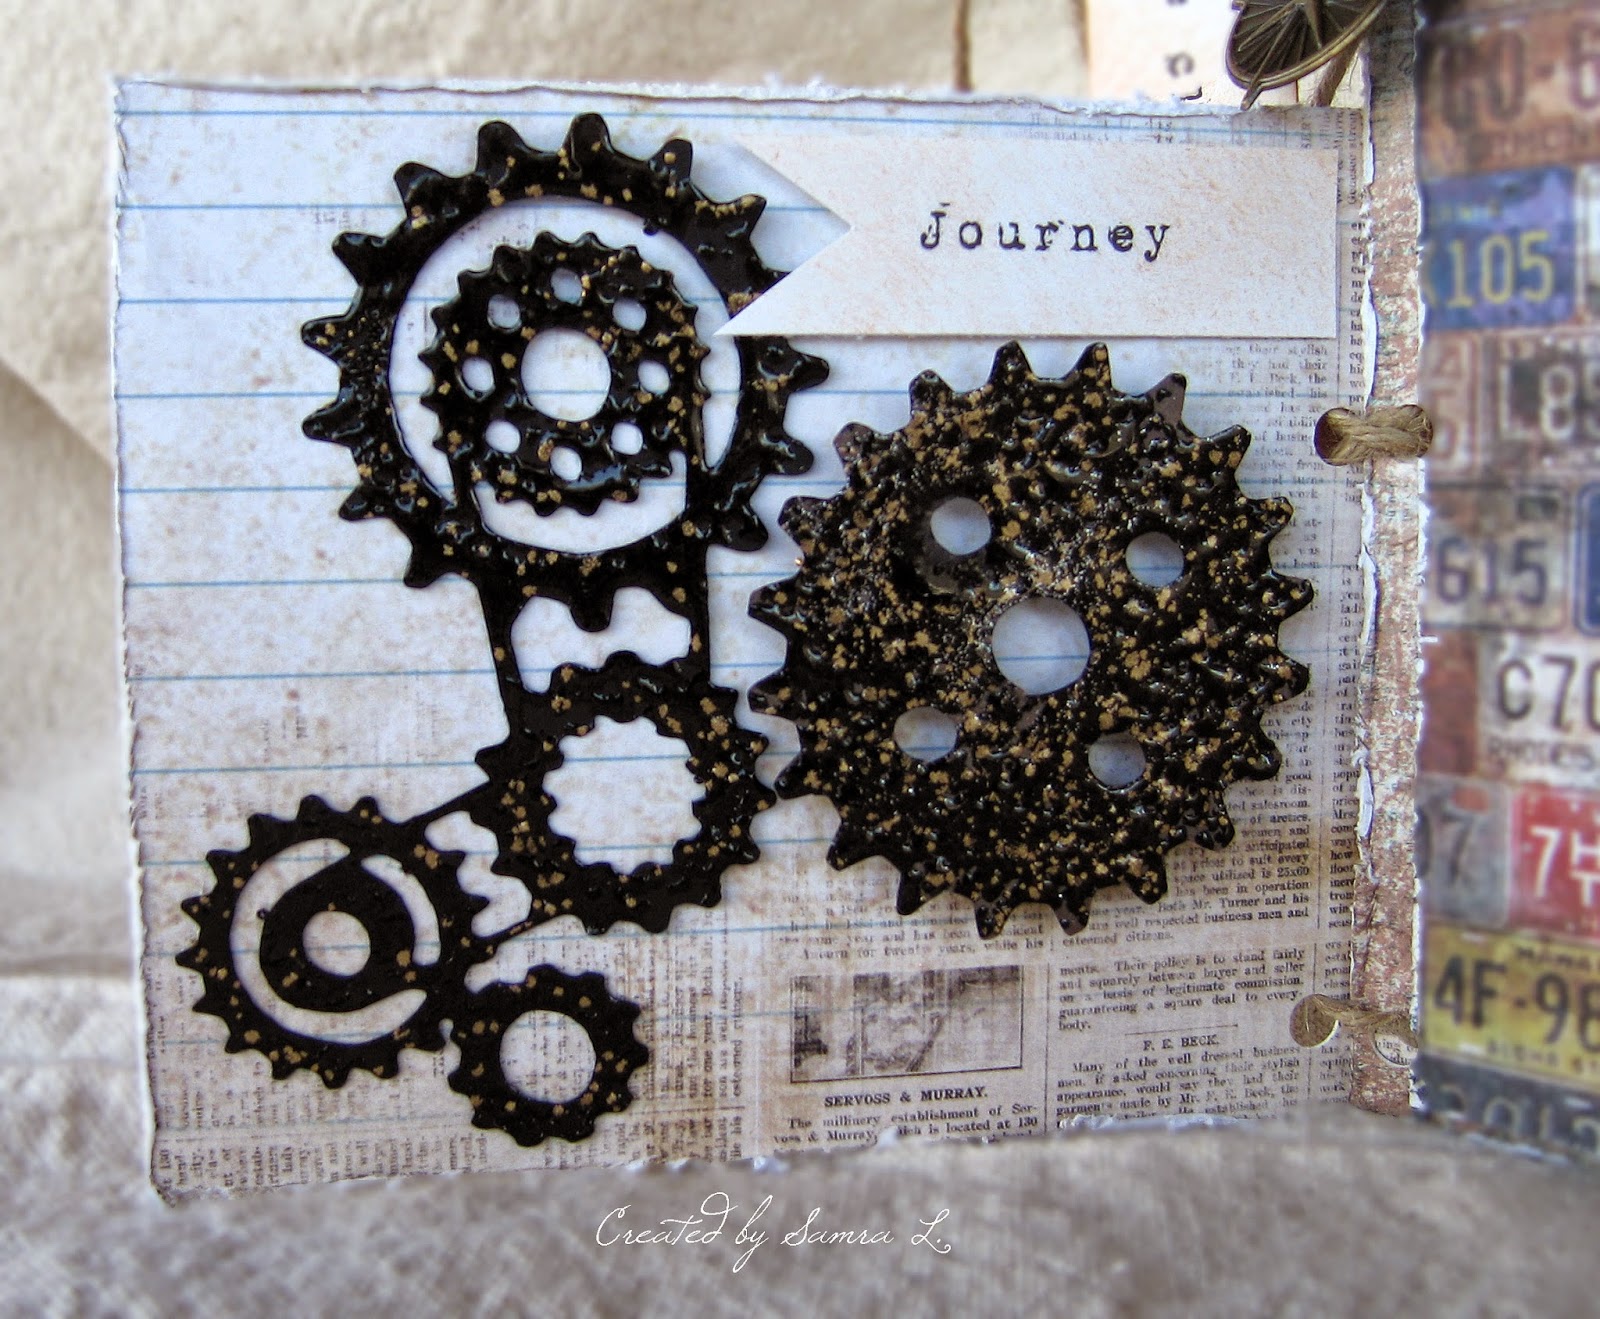
I punched holes and threaded jute string to create a little "book". Then I decorated each page with different banners, gears, movie ticket cutouts and so forth.


I created this "Sleepy Motel" sign using Cricut Nifty Fifties Cartridge and then added some clear crackle paint to give it rustic look. After the paint dried I sponged it with Tim Holtz Vintage Photo distress ink.


The gears are coated with black and gold embossing powder.


I added some more banners and a clock charm to this page...

...and the last page...

I am entering this book card into following challenges:

City Crafter Challenge Blog Week #233 with inspiration photo

The Mixed Media Card Challenge #4 "Vintage"

and

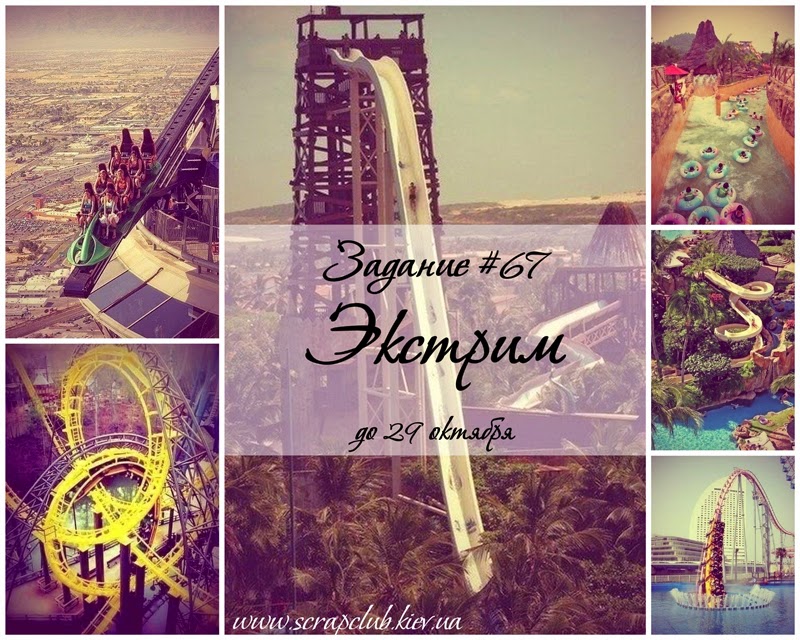
Scrapclug Kiev Quest#67 "Extreme"

I hope you enjoyed this post.
Have a wonderful day and thanks for stopping by...
Samra


Monday, October 13, 2014

Vintage Shabby Chic Pink "Hope" Card

Hello everyone,

I created a card that is dedicated to Breast Cancer awareness. Unfortunately, there have been way too many wonderful women that did not win the fight against this horrible disease, some were very close to me and my family...
Let's keep on fighting and cherish our family and friends along the way...

Here is my card:


I was inspired by the design of a card by a super talented young lady Pamellia Johnson. You can take a look at her beautiful work here

I used brayer to apply some Antique Linen ink onto debossed side of damask embossing folder, then I ran beige color heavy cardstock through Cuttlebug which gave the cardstock antique look. I sponged raised parts of embossed surface with Spun Sugar Ink and added here and there clear crackle paint and I sparingly heat embossed this piece with snow embossing powder. I distressed the edges quite a bit since I wanted the card to look very shabby and chic. :) Base layer of the card is light pink cardstock piece with distressed edges.


The sentiment was created using Cricut Sophisticated Cartridge font. I sponged top layer with Spun Sugar Ink and then applied Clear Crackle Paint. The bottom part was sponged with Antique Linen Ink. I then attached the letters to a piece of cardstock that was treated with home made pink texture paste using Tim Holtz Harlequin stencil. While texture paste was still wet I sprinkled some Martha Stewart coarse crystals on it. I learned this technique from Pamellia


I used pink spray ink to die a piece of white seam binding ribbon. This bow has many, many loops. I stopped counting after 4 :) I decorated the bow with a handmade flower and I topped the flower with beautiful vintage metal flower embellishment.


A better look at the key embellishment from this angle...


Couple more angle shots of the card, so that you can see how dimensional this card really is...

I am entering this card into following challenges:

Crafty Cardmaker and More..#125 It's Only Words

Fab'n'Funky Challenge #232 Anything with Ribbon

Fussy and Fancy Challenge #124 "Lot's of Pink or Breast Cancer"

The Mixed Media Challenge #4 "Vintage"

and

The Sisterhood of Crafters Think Pink! Challenge

I hope you enjoyed this post...it would make me very happy to hear from you :)
Have a wonderful day and thanks for stopping by...
Samra

Friday, October 3, 2014

Shabby Chic Friendship Card

Hello everyone,
I made this card for a very dear friend of mine that moved out of state.


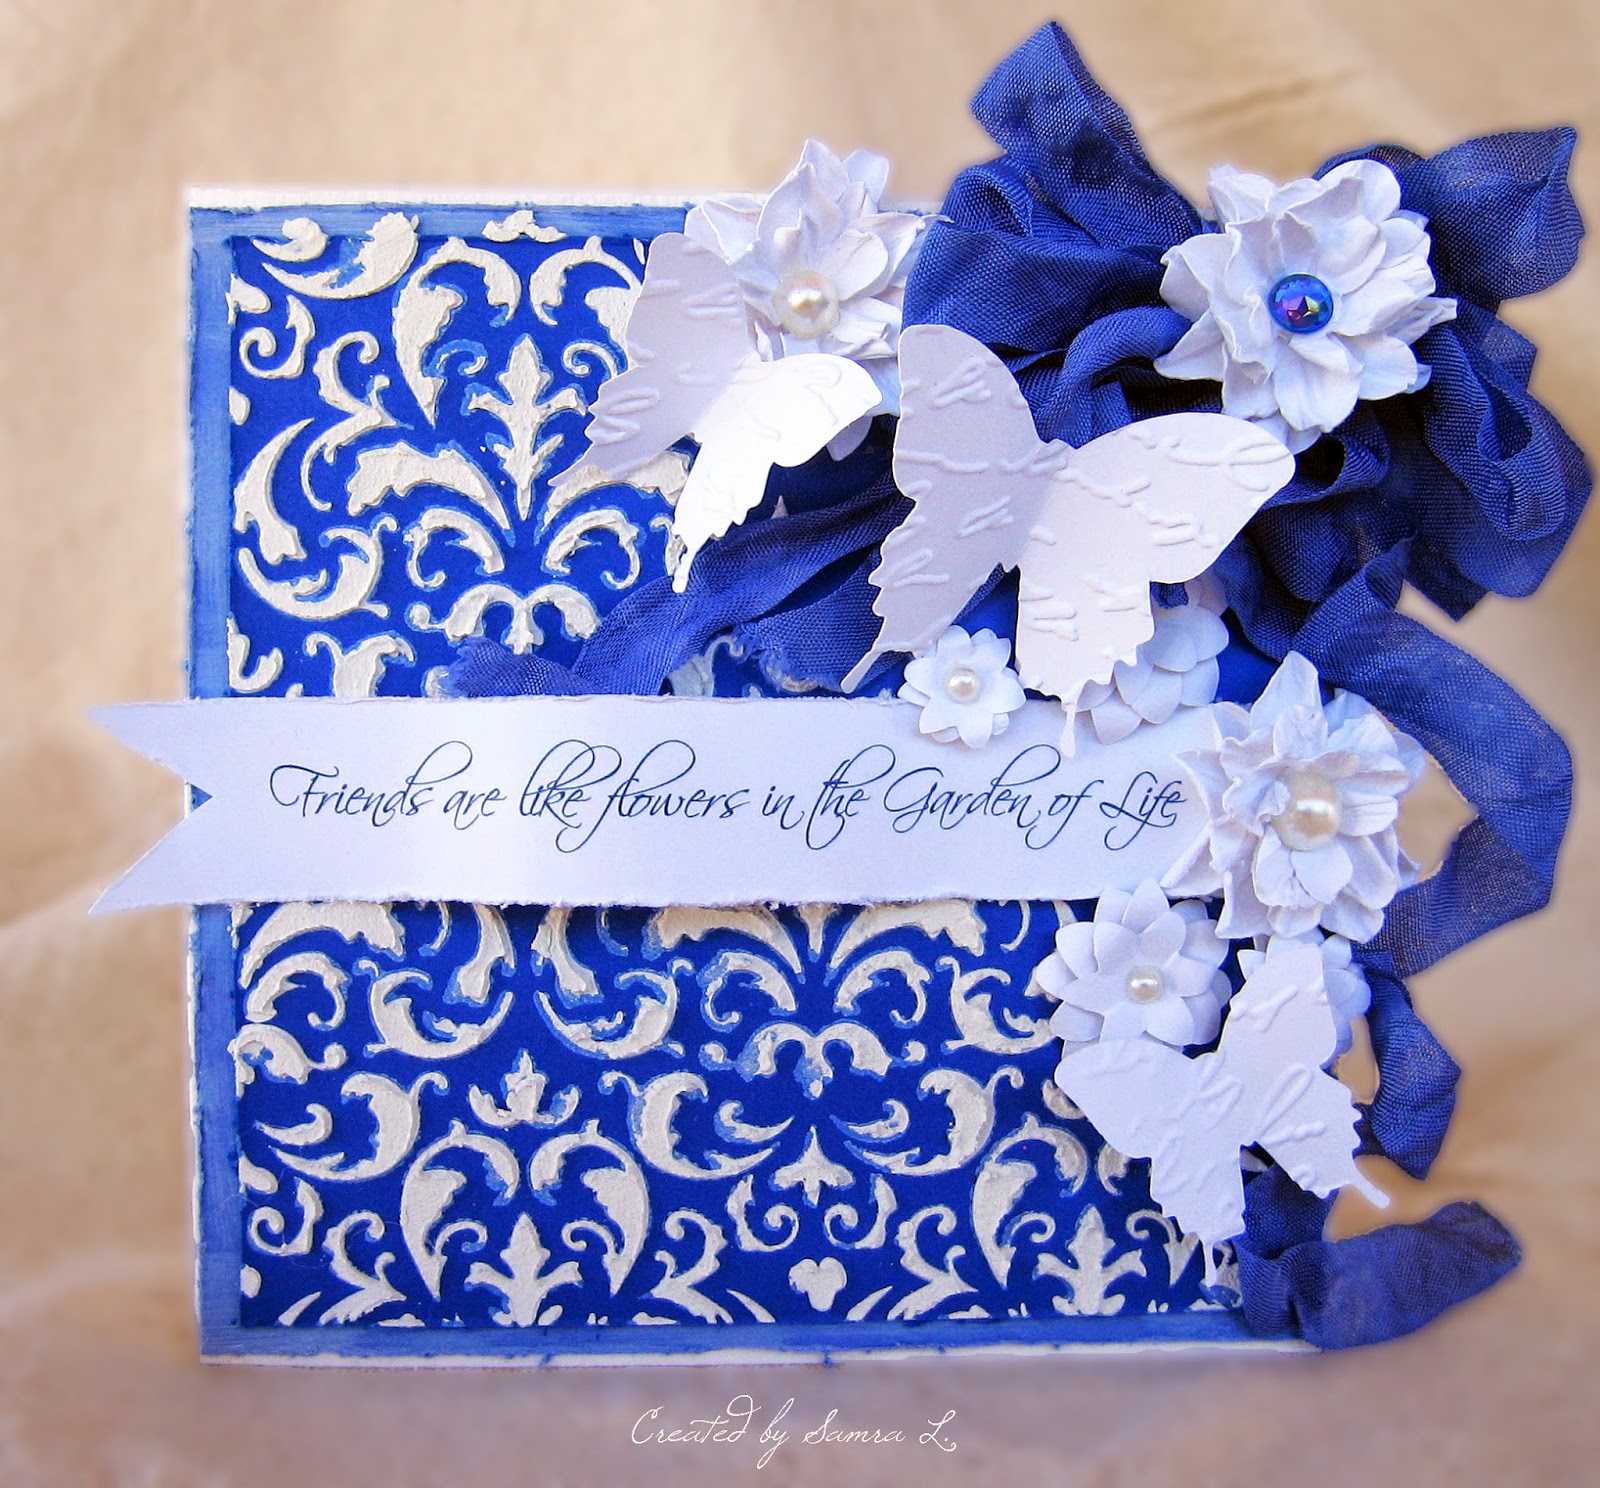
The card base is white, topped with light blue piece of distressed edges cardstock. I also used distress white paint on the edges of that piece. I used dark blue cardstock for my top layer. I distressed edges and then I used texture paste and Damask stencil to create the damask design on it. You can find amazing tutorial on different types of texture paste on this blog: http://mylittlecraftthings.blogspot.com This young lady makes amazing cards!


I used blue seam binding ribbon to create shabby bow. Flowers were all hand made by me :) The butterflies are Cricut cutouts embossed with Darice Script embossing folder.


I created this sentiment on my PC and printed it onto white cardstock. I cut out the sentiment in the shape of banner, and then distressed the edges.


One more look at the finished card...
I am going to enter this card into following challenges:

Crafty Cardmakers and More Challenge #124 "Triple B" (I chose Blue, Banner and Butterflies)

Cardabilities Challenge Sketch#108


and
House of Cards October Challenge "Punches and Dies" (flowers are made using ek flower punch)

I hope you enjoyed this post.
Have a great day and thanks for stopping by...
Samra

UPDATE 10/13/2014

I am honored to announced that this card of mine has won Crafty Cardmakers and More...Challenge "Triple B"! I am so happy and super excited about it! Yay!!

Wednesday, October 1, 2014

Halloween Invitation

Hello everyone,

I have been waiting patiently for challenge blogs to ask for Halloween themed entries and finally the time has come to share with the world Halloween Party Invitations I created for our Party this year. :)


My husband and I are big Halloween fans and our Halloween parties are always very elaborate and fun. :) So the invitations I make are just complementing everything else...elaborate and fun. :)
Theme is Witches Coven, so I incorporated cauldron, witches broom, witches hat, couple of bats and some moss to create this witch theme invite....


I used tags to give info about the party, provided some broom models and described the menu a little bit... :)


I used strips of acetate to create the effect of flying bats. The broom was originally light color, but I used black and dark brown wood stain to give it that rustic look. I made the hat out of velvet covered paper, the bats are cricut cutouts and the cauldron was purchased online. I wrapped everything with different types of moss to give it a little bit creepy look.


I added a seambinding bow colored with distress ink and a sparkly spider on top of each box.

I am entering this project into following challenges:
Divas by Design Spooky Creations

Fab'n'Funky Challenge #231 Halloween

and

Frilly and Funkie Challenge Blog A Haunting Halloween Challenge


Monday, September 29, 2014

City Crafter Challenge Blog GDT- Week #231 "Colorful Pumpkins of a different color"

Hello everyone,

I am so honored to be a Guest Designer this week at City Crafter Challenge Blog which is one of my favorite challenge blogs.
For this week's challenge: Week #231 "Colorful Pumpkins of a different color" I created a card that will be part of designers' inspiration based on this colorful pumpkins photo:


This week's prize is Guest Designer Spot.


This is a great challenge blog and I do hope you join in on fun. Please be sure to stop by amazing DT blogs.
CCCB DT is AMAZING!
Ros Crawford
Charlene Cundy
Anna Rogalska
Stella Schenkel
and creator Kirsty Vittetoe

And here is what I have come up with:


I call this a Hipster Card :) at least my first attempt to create one.
I tried to incorporate as many details from the inspirational photo as I could. I started of with a wood background similar to the crate under the blue table and added layer of chevron pattern cardstock to mimic zig-zag design on one of the pumpkins.


I painted the red fleur de lis square with white crackle paint and left some parts with no paint to mimic color of that old red chair in the picture. The pumpkin is Cricut Damask Decor Cartridge cutout with a twist, since I also punched out holes to be able to add the sparkly diamond shaped embellishments to mimic polka dots on pumpkin placed on that chair. You can also see in this close-up a clothes pin with "Happy Day" writing. I tried to incorporate a banner with Happy Thanksgiving sign on it, but it just did not fit right on the card, so I decided to add this clothes pin that just says Happy Day...pretty much any day :) I think it gives it a nice touch.


Inspiration photo had two elongated colorful pumpkins, so I added some striped pumpkins to my card as well :)


If I can, I always add a bow to my card, so here it is blue bow with a fancy button embellishment.


One more look at the card from the side, you can see all the layers and dimensional look.

I hope you enjoyed this post.
Have a fabulous day and thanks for stopping by...
Samra