Friday, February 13, 2015

Purple and Turquoise Roses Birthday Card

Hello everyone,

here is my latest creation:


This card seems relatively simple but it took quite a bit work to make it. The background was created from 6" x 6" heavy water color paper. I sprayed purple distress ink in one corner and turquoise distress ink in diagonally opposite corner. Then I sprayed some water on both inked areas and spread them with paintbrush. After ink was dry I dabbed a coat of gesso. When that layer was dry I applied home made texture paste through my new Finnabair doily stencil. I heavily distressed the edges of the paper. I created a ruffled border with some embroidered ribbon.


The flowers started off as white cardstock, which I inked with Seedless Preserve and Peacock Feather Distress ink. Then I made my flowers and dabbed some gesso on the tips of the petals.


One more look at the finished card...

I am entering this card into following challenges:

Frilly and Funkie "Winter Blooms"

ScrapMagic Contrasts No 7 Blot/Roses


Seize the Birthday (I went with Anything Goes)


and

Simply Create Too Challenge "Anything Goes"

I hope you enjoyed this post...
Have a wonderful day and thanks for stopping by...
Samra

Pink and Grey Valentine Card

Hello everybody,

Just a quick post of my latest creation:


I used pink patterned paper for my first layer and heavily distressed the edges. Then I added grey tone wood grain patterned paper ontop of it. Edges were distress on this layer as well...
I cut out a frame out of white and black cardstock and attached them. The black cardstock was on top. I covered it with Brushed Pewter Distress Paint and white the paint was still wet I sprinkled some clear rock candy for extra shimmer..
The sentiment is from Verve "More than Love" stamp set stamped with Black Soot Distress Ink.


Here is a closeup of the handmade flowers,the sentiment and layered hearts... The flowers and hearts were inked with Spun Sugar Distress Ink. Hearts were embossed with script embossing folder.


Here you can kinda see the shimmering frame...


One more look at the finished card...

I am entering this card into following challenges:

Crafty Cardmakers #132 "Love, Love, Love"

Craft Hoarders Anonymous February Challenge "How I Love Thee"

The Sisterhood of Crafters Sweethearts and Roses

Frilly and Funkie "Winter Blooms"

House of Cards February Challenge "Love"

and

Verve February Inspiration Challenge with this inspiration photo:

...I got inspiration for the frame from this photo...

I hope you enjoyed this post...
Have a wonderful day and thanks for stopping by...

Samra

02/23/2015 UPDATE

I am so happy to announce that my card was Top 5 at Crafty Cardmakers and More...


03/15/15 UPDATE

I am honored to announce that my card was Top 5 at House of Cards Challenge

03/16/15 UPDATE

I am ecstatic to announce that my card was selected as one of the Favorites at 


Monday, February 9, 2015

City Crafter Challenge Blog Week#248 "You Matter"

Hello everyone,

Here I am with my second post as a designer for City Crafter Challenge Blog :)
Stella is our host this week and she wants us to create a card or project to tell someone what they mean to you or to thank them for what they have done for you. For example; you're special, you mean the world to me or a thank you note......


Here is my inspiration project for this challenge:


I made this card for my loving husband Don...my partner, best friend, anchor and guide through life.

I used cardstock from Tim Holtz's collection "Lost and Found" and inked and distressed the edges with vintage photo distress ink.


I created the parts of this sentiment on my PC and glued them to each side of this metal frame. Both banners were distressed with vintage photo distress ink and covered with layer of clear crackle paint for that vintage look.


I added a piece of construction binding tape to the side of the card. That tape was part of the construction material used during our bathroom remodeling :) I kept what was left over.


I tied the charms to a jute string...


One more look at the finished card...

Guest Designer this week is amazing Maria F, please make sure you check out her fabulous blog!
This week's prize is GD spot!!! I hope you join this week's challenge and also please visit my fabulous teammates' blogs for additional inspiration:

and

I hope you enjoyed this post.
Have a fabulous day and thanks for stopping by...
Samra

Friday, February 6, 2015

Shabby Blue Valentine Card

Hello everyone,

I created a Valentine card in Blue and White tones, hope you like it:


I used super heavy white cardstock for my base. The card measures 6" x 6". First layer is a script print paper in light blue shades with distressed edges. It is just peeking behind double layer of cheese cloth.
The top layer is a piece of blue cardstock that was distressed with Faded Jeans Distress Ink and then covered with Glue n' seal. once that was dry, I dabbed two layers of white paint onto it. Once the paint was dry, I embossed it with script embossing folder, distressed all the edges and randomly sanded off parts of script to uncover dark blue color of cardstock.
The hearts are different size and shape Cricut cutouts. Dark blue and the smallest one was treated with Picket Fence Distress Paint, the middle white one with Faded Jeans Distress Paint.


The sentiment was creating using "be mine" stamp from More than Love Verve Stamps set. I stamped it with Versamark and covered it with Snow Embossing powder. Then I treated entire banner with Faded Jeans Distress ink and gently removed the ink off of the embossed area.


This side view gives you an idea how dimensional this card is...


The flowers: all handmade by me. I used white cardstock to cut out 5 petal flowers in different sizes. I used two different ways to ink the flowers with Faded Jeans Distress ink. First one is inking with sponge and the second was just dabbing the ink pad directly onto flowers. After I made all my roses I painted one with Picket Fence Crackle Paint, the others were treated with white acrylicic paint using a sponge. I added a thin layer of decorative sisal before I started adding flowers to my card.
In this closeup you can see crackle paint effect really good...


The shabby bow was created using white seam binding ribbon that I hand died with Faded Jeans Distress ink. I added a small metal heart with a key charm, tied to a sisal string. I painted the charm with Picket Fence Distress Paint.


One more side view of the finished card...

I am entering this card into following challenges:

The Artistic Stamper February's Creative Challenge "Love"
Word love means hearts...

Artist Trading Post Exchange "Love is in the Air"

Cardabilities Sketch #116


The Mixed Media Card Challenge #8 {love}


and

The Shabby Tea Room #245 I {heart} You


I hope you enjoyed this post.
Have a wonderful day and thanks for stopping by...

Samra

02/14/2015 UPDATE
It is my great honor to announce that my card was selected as one of the Feature Designers at Cardabilities! I am absolutely thrilled and ecstatic!


02/21/2015 UPDATE

I am so honored to announce that my card was Top 3 at Artist Trading Post Exchange!!


Thursday, February 5, 2015

Purple Vintage Birthday Card

Hello everyone,

My newest creation is a vintage looking birthday card for my coworker:


I used white super heavy cardstock for my base and distressed it with Seedless Preserves Distress Ink. I used scraps from my stash to create this card. I decided not to use any new paper if possible at all, until I use up all my scraps, and I sure have plenty of those! All the layers of paper have distressed edges and are treated with Seedless Preserves Distress Ink. The Damask Stencil was created with texture paste and partially colored with Seedless Preserves Distress Ink.


I attached some of the pieces with adhesive foam to give some dimension to the card..


I hand died the seam binding ribbon and made this shabby bow. I embellished it with some pink twine and rhinestone button...


I made a box for the card so that dimensional flower and ribbon bow stay all nice and fluffy :)

I am entering this card into following challenges:

Mojo Monday #383


and

Seize the Birthday "Anything Goes"


I hope you enjoyed this post...
Have a wonderful day and thanks for stopping by...

Samra

Monday, February 2, 2015

City Crafter Challenge #247 "Lace and Roses"

Hello everyone,
It is my great honor to announce that I have become a member of City Crafter Challenge Blog DT!!!
The creator of City Crafter Challenge Blog, Kirsty Vittetoe asked me a month ago to join their team which was quite an honor and I gladly accepted her invitation.
Host of this challenge is Char who unfortunately had to leave the team due to health issues :(
Char selected this gorgeous photo as the inspiration

and asked to make a project using both lace and roses.

This is what I created as a DT inspiration:


I used pink cardstock for the base and distressed all the edges and covered it with thin layer of gesso. The top layer was a piece of patterned cardstock from my stash that I also covered with thin layer of gesso and distressed edges.


The frame is a Paper Studio resin embellishment that I painted white and added the vellum banner sentiment. The bottom of the card is covered with two rows of lace ribbon...


All the roses were handmade by me...


One more look at the finished card...

Guest Designer this week is Kara who was the winner of week #241
Prize for this week's challenge is Guest Designer spot!!
I do hope you join the fun and also check out inspirational creations of my teamies
and

I hope you enjoyed this post...
Have a fabulous day and thanks for stopping by...
Samra

Sunday, February 1, 2015

Vintage 3 Tags Card

Hello everyone,

Here I am with another project, but I would like to warn you that this post has plethora of photos...
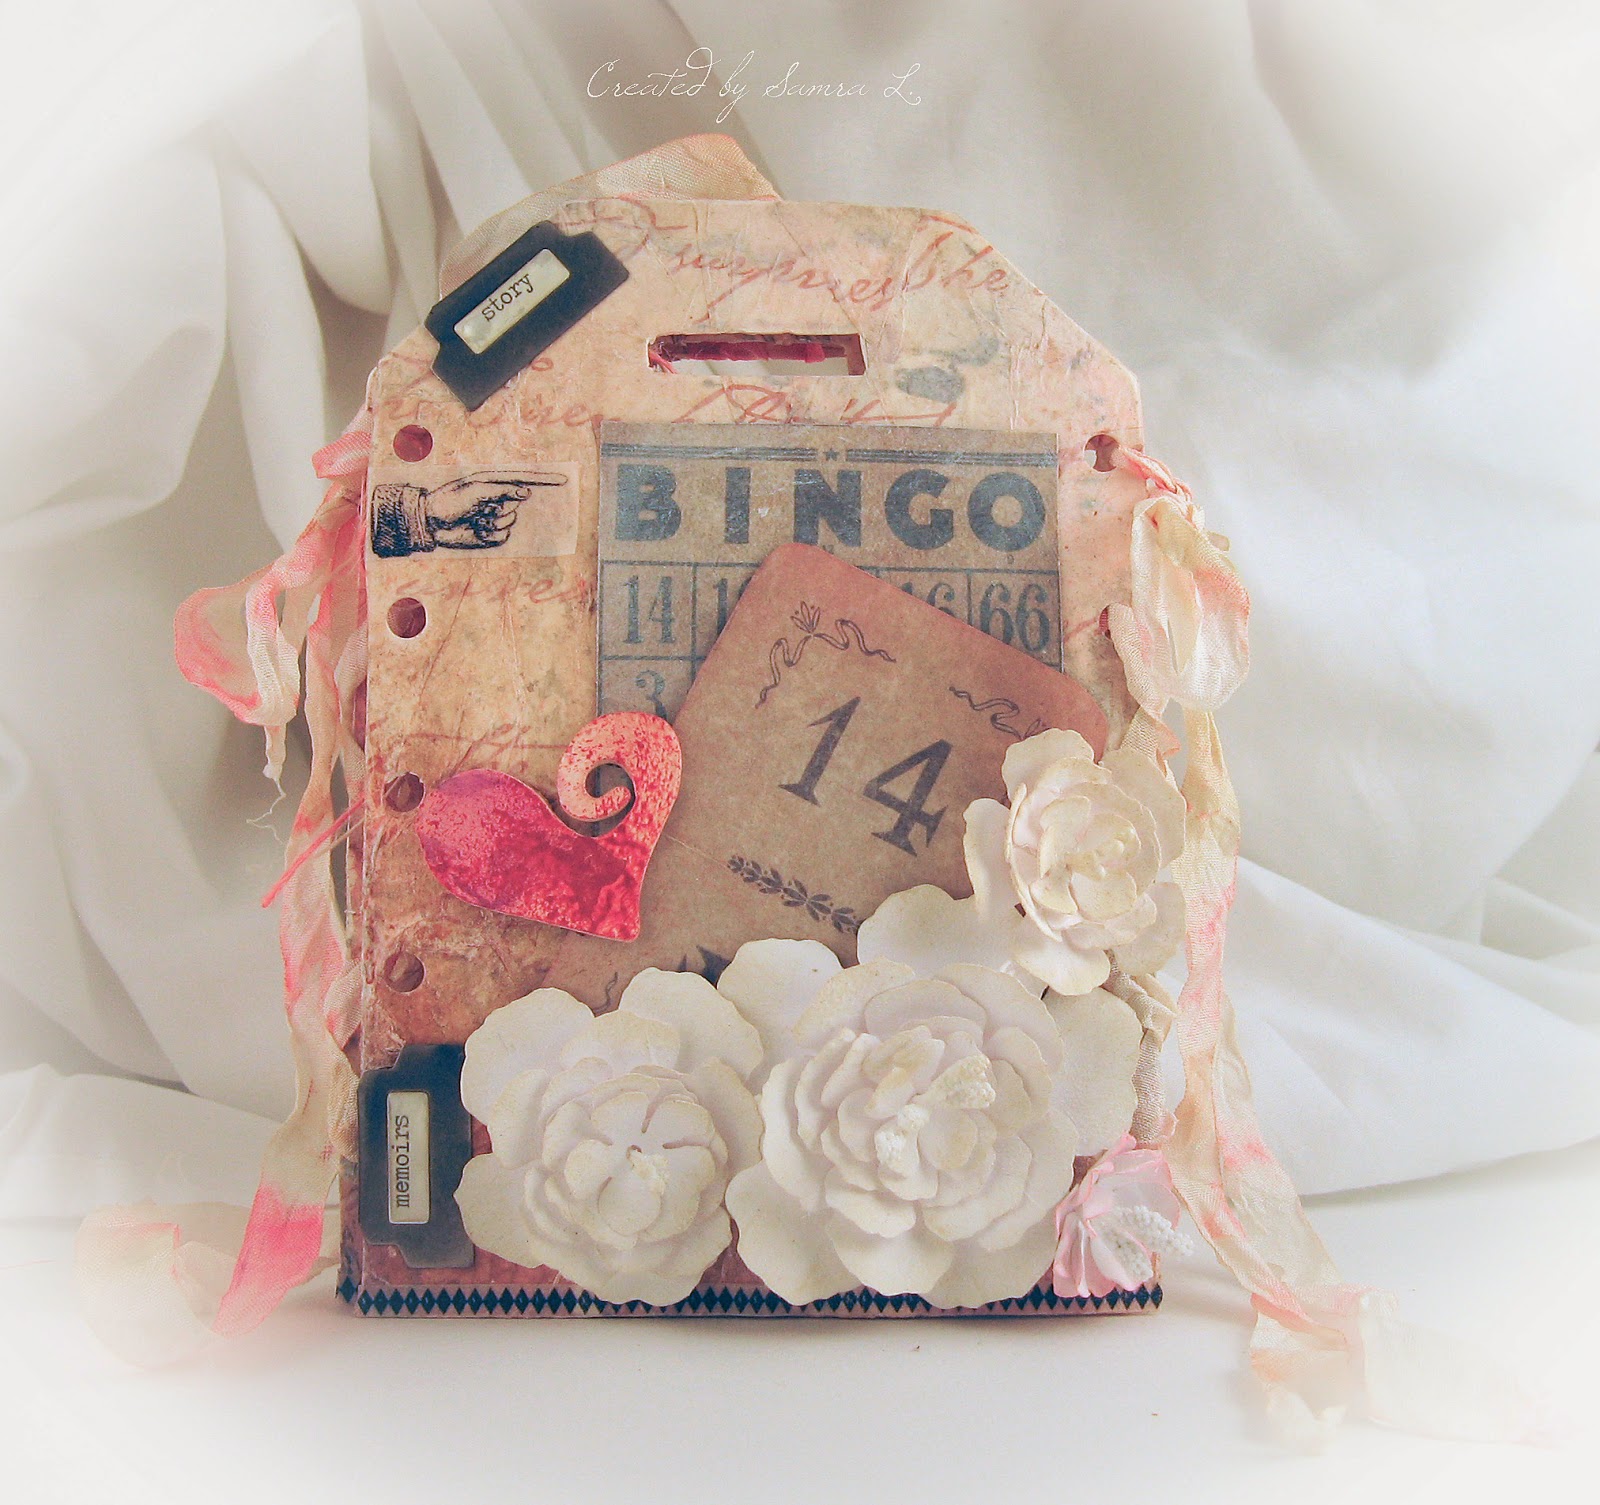
Here is my creation:


This project was created using mostly Tim Holtz distressing products, papers, and embellishments; and I was inspired by his wrinkled tissue layering technique from his January Tag. I also used Crackle Paint Resist Technique with Clear Crackle paint and Vintage Photo Distress Ink.

Let's see the rest of the project, shall we??


As I open the card it reveals next layer with a vintage heart, calendar cutout from Tim Holtz cardstock stash and Love cutout covered with Clear Rock Candy Distress Glitter. I added a baker's twine bow on this page...

Next...


As I open the other side of the card, it reveals a layer with a vintage couple photo from Tim Holtz cardstock stash, word Together cutout covered with Clear Rock Candy, metal arrow, some tissue tape embellishments, file tabs (love those things!!!) another word cutout covered with Fired Brick Distress Paint. and funky shaped hearts...


This angled view gives you an idea how dimensional the word cutouts are...maybe you even see the shimmer from the Distress Glitter...


Now some views of the back of the card...I love that tissue tape accent I added on the bottom!


I tied the tags together with hand died seam binding ribbon. I used Antique Linen, Worn Lipstick and Vintage Photo Distress Inks to get that color...
Also in this picture you can see the hand made flowers that I treated with Picket Fence Crackle Paint and Antique Linen Distress Ink.


Once the wrinkled tissue paper layer was dry, I used Black Soot, Walnut Stain and Fired Brick Distress Paints to create that vintage look of the panels. I also used sand paper to treat the edges..

I am entering this project into following challenges:

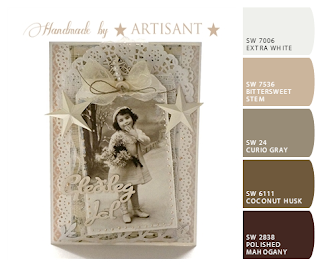
Artisant January Challenge
I chose the color palette from Aneta's fabulous gallery:


A Vintage Journey Challenge #24 "Love is in the Air"

Frilly and Funkie Challenge "Be my Valen-twine"

Rapakivi Weekend Challenge


I chose tags x 3, letters and paper crafts

and

Really Reasonable Ribbon Challenge #110 Hearts and Ribbon

I hope you enjoyed this post. Sorry about the post being very looooong...
Have a wonderful day and thanks for stopping by...

Samra